Art from probability
7/9/2023
Making generative art using Markov chains and random walk algorithms
This weekend, I explored the creation of procedural art using Markov chains and random walk algorithms. I am quite pleased with the results, and am very happy to have discovered a new-found interest in generative art!
Spark of inspiration
With the rise in AI generated images recently, I was curious as to what images I could generate using Markov chains, given a base image. I wondered if the rules created would result in the new image looking exactly the same as the base image, or if patterns and colours from the original image would emerge.
What is generative art?
Generative art is art created using an algorithm which often incorporates some form of probability or randomness. Generative art doesn't just have to be used to create visual art, as it can also be used to create music or literature.
An explanation of Markov Chains
Markov chains are a type of random process, where the probability of an event happening in the future only depends on the result of the current event and not previous events.
This concept is much easier to understand by using an example. Let's say we are picking marbles from a bag and have three different colours of marbles: red, blue, and green.
For example, lets say we have the following rules:
- Red -> Green
- Green -> Red, Blue
- Blue -> Red, Green, Blue
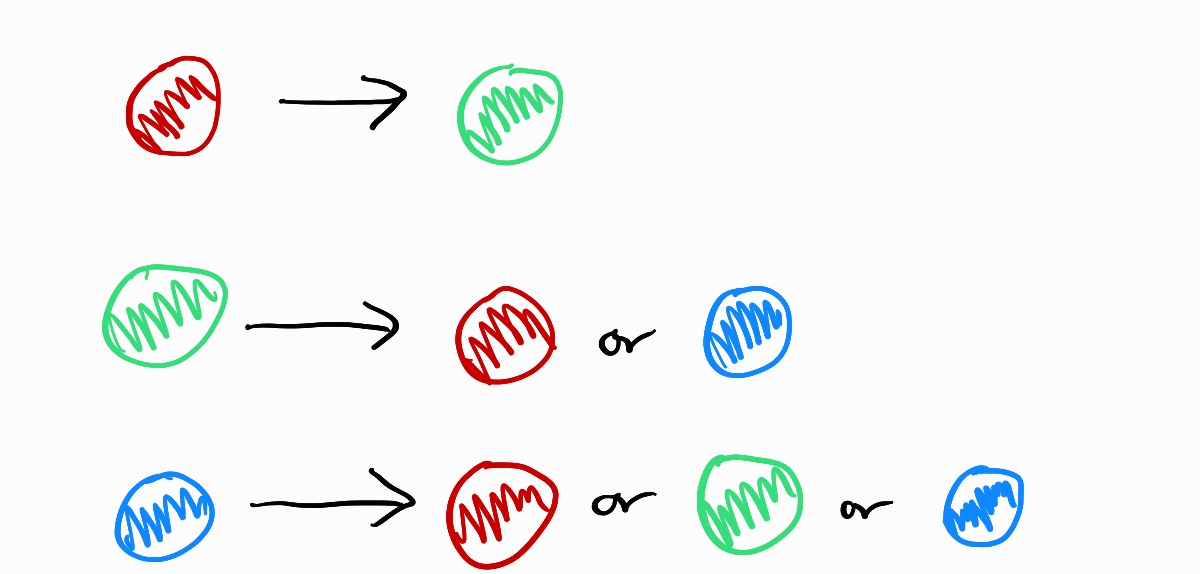
The above rule set states that we can only choose a green marble if we just chose a red marble.
However, we we can choose a red or blue marble if we just chose a green marble, and we can choose any marble if we just chose a blue marble.
So if we started with a green marble, then we can only choose a red or blue marble next. In addition, probabilities can be applied to each event, meaning the chance of choosing a red marble could be lower than drawing a blue marble.

A sequence of marbles generated using the rules above - green, blue, red, green, blue, blue
Applying Markov Chains to images
Now that we understand what Markov chains are, we can use them to procedurally generate images!
The method I decided to use was to give the algorithm a "base" image, which it uses to generate Markov chains by doing the following:
- For each pixel in the image, look at it's neighbours
- Record the current colour of the pixel as the key in a dictionary or hash map, and add a list of colours of the neighbouring pixels as the corresponding values
By adding the same neighbouring colours to the list, we effectively increase the probability of that colour being chosen!

A visual representation of how the Markov chains are generated
Once this process is done, we can then generate our new image.
To do this we iterate over each pixel in our image from top to bottom, applying the following algorithm:
- For the first pixel, we choose a random colour from our dictionary
- The next pixel then uses the colour of the previous pixel to randomly choose its own colour, based on the probabilities of the Markov chains created earlier
- This process is repeated until the entire image is filled
Original Image
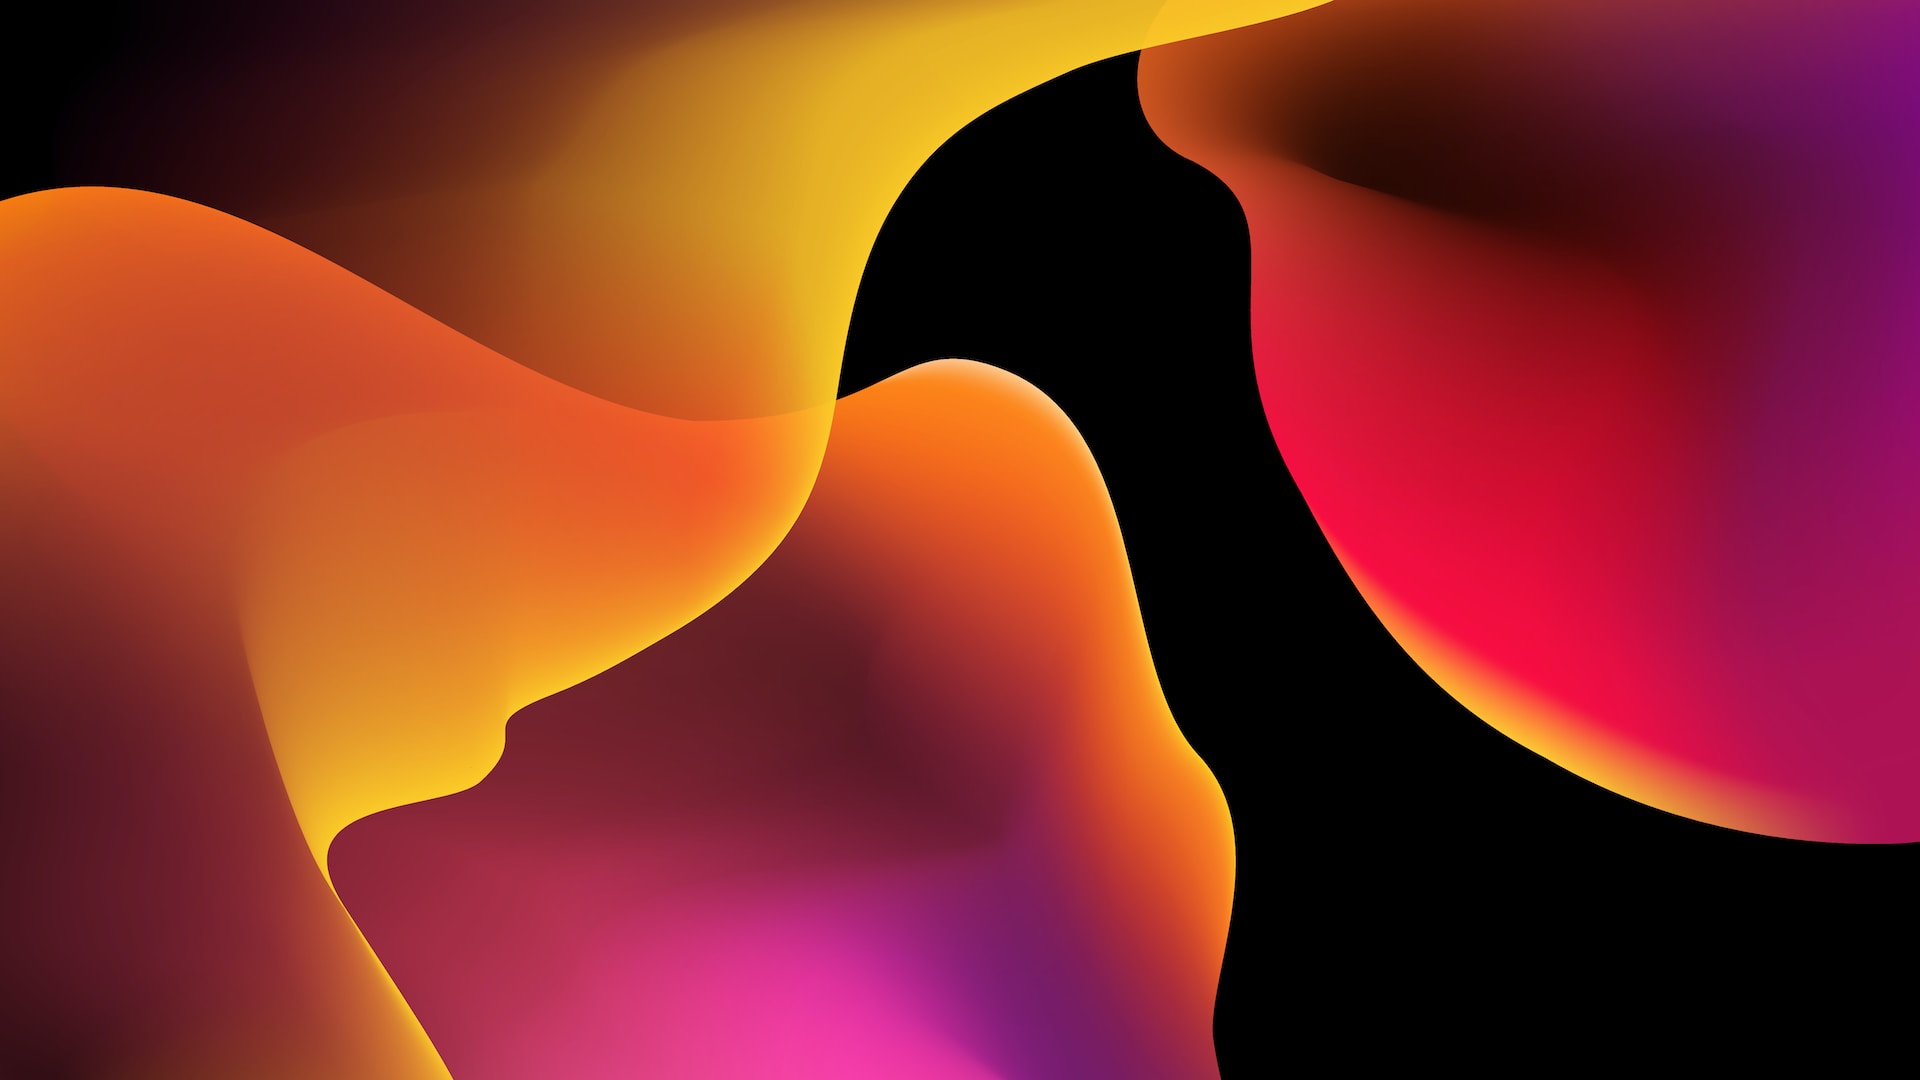
Photo by Richard Horvath on Unsplash
Generated Image

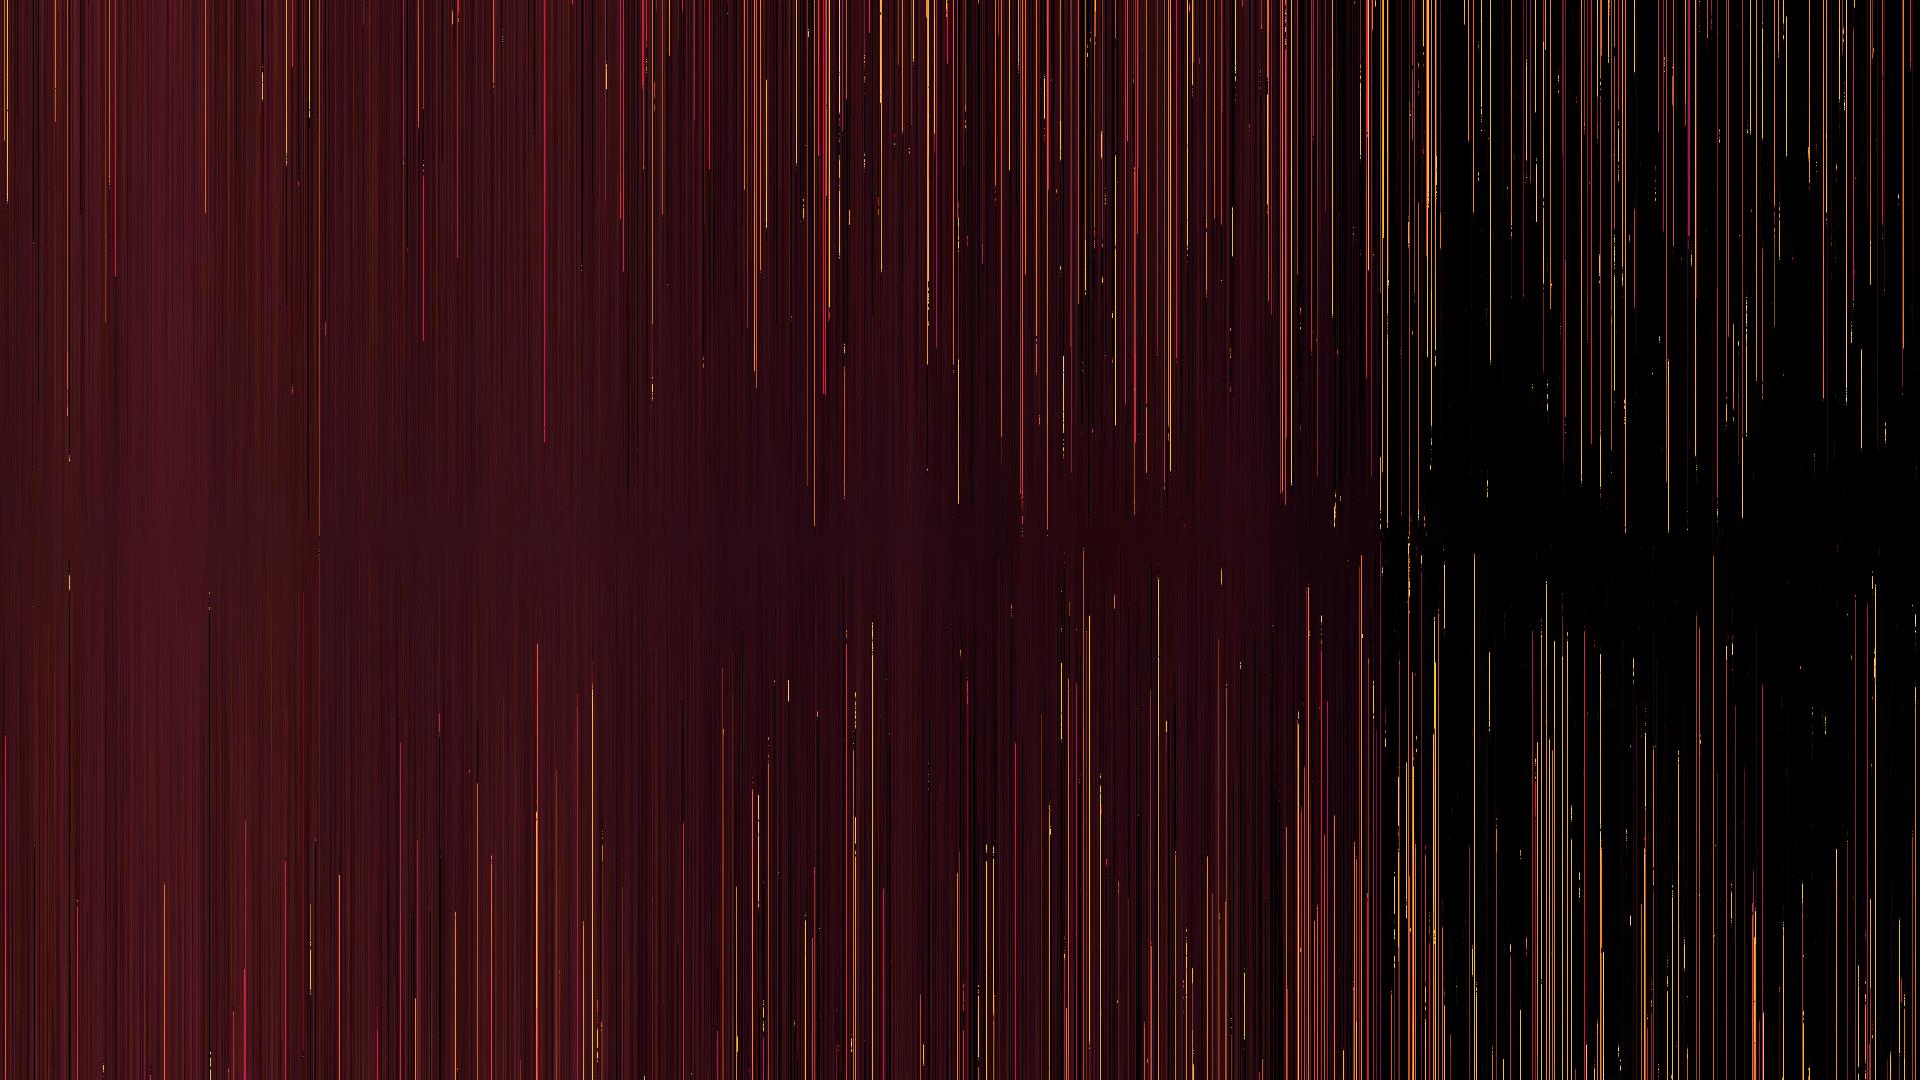
The generated image - not very glamorous, to say the least...
Lines and concentric circles
If you looked at the image generated using the previous method, you probably noticed an issue - the image is comprised entirely of rows of lines.
While some may consider this to be art, I decided to try to fix this by using a flood-fill algorithm starting from the centre of the image, with the hope that the generated image would look more visually appealing.
Something is still off...
While this did manage to get rid of the lines, it instead created concentric circles! These two approaches lead to me realising that the issue stems from how the pixels are generated, rather than their colours.
Random walks
After scouring the internet, I landed on a blog post by Manohar Vanga which discusses a method of creating generative art using random walks; a random process that creates a path from a series of random steps.
This technique creates streaks of coherent but painterly drawn lines, which look more visually appearing than the previous methods I used.
In the end, I used a similar method to the one detailed in the blog post:
- Choose several random pixels on the image to start from, and add them to a list
- Set the previous colour of these pixels to a random colour from the list of keys of the previously generated Markov chains
- While there are still pixels left in the list, choose a random pixel from the list
- Set the colour of this pixel to a random colour based on the previous colour of this pixel
- Add the neighbours of this pixel to the list, setting the previous colour of the neighbours to the colour of this pixel
- Remove this pixel from the list
Below are some example images generated using this algorithm.
Original Photo
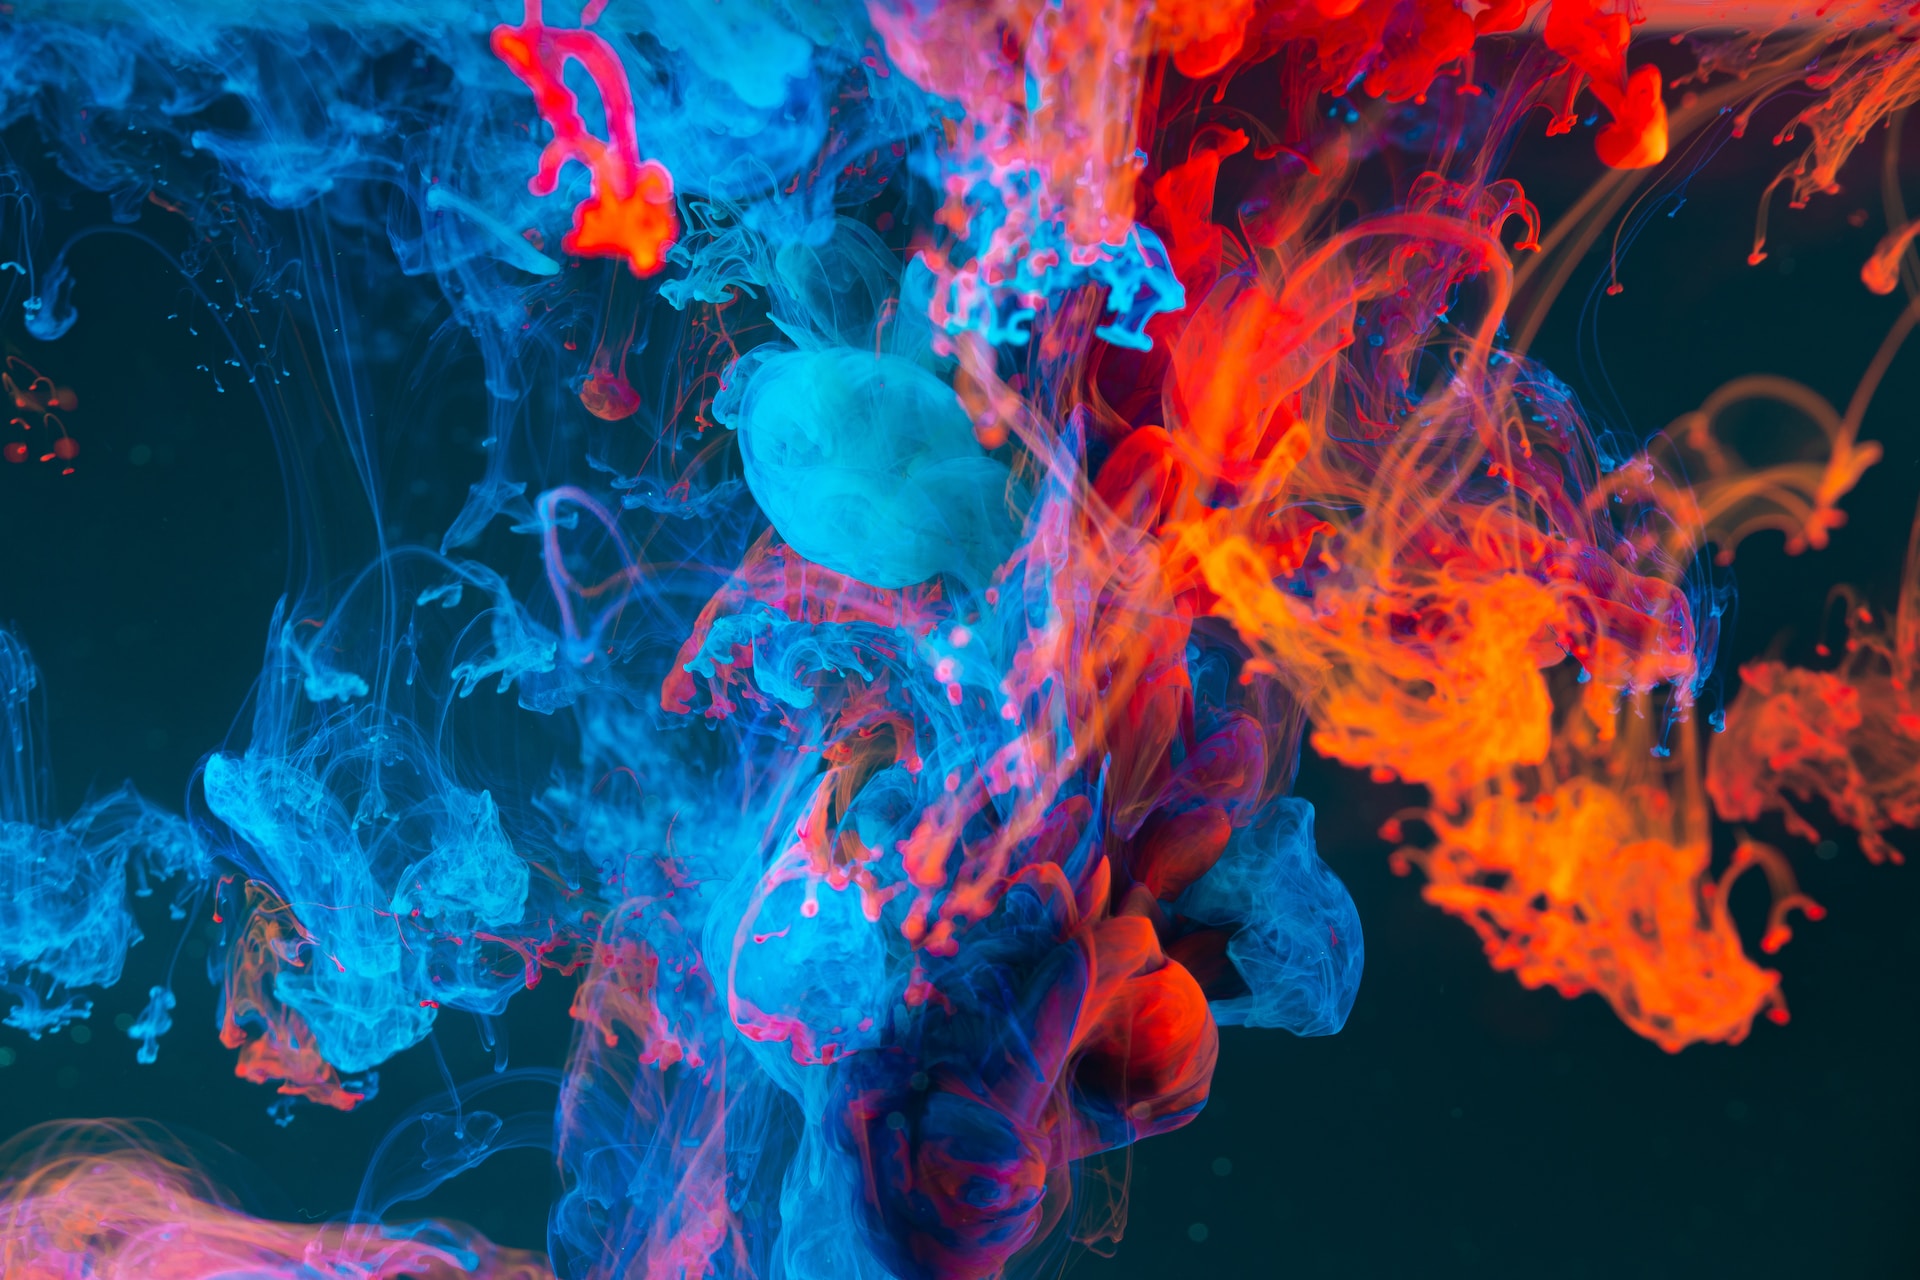
Photo by Lucas Kapla on Unsplash
Generated Image
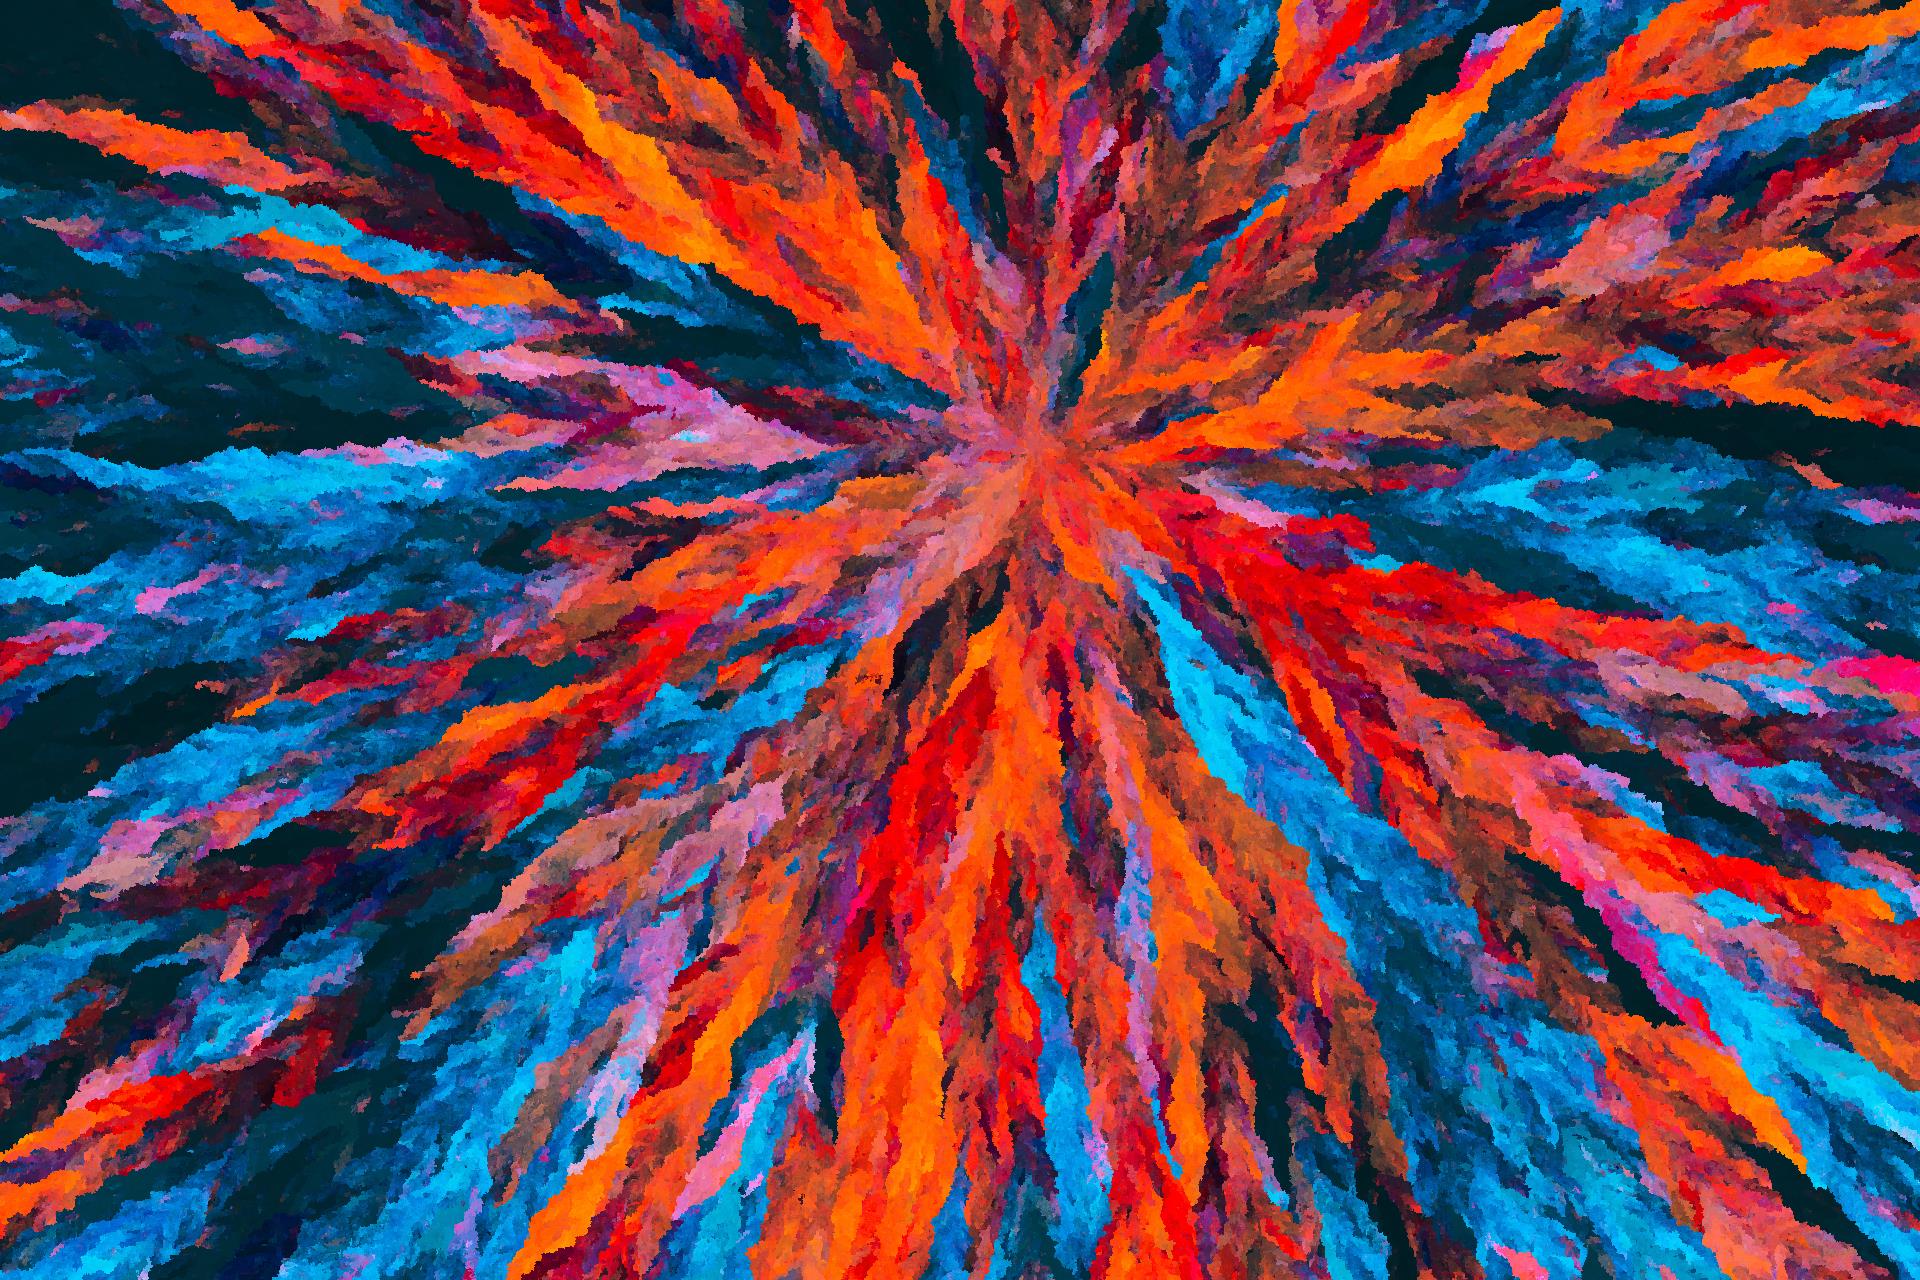
Fire and water
Original Photo
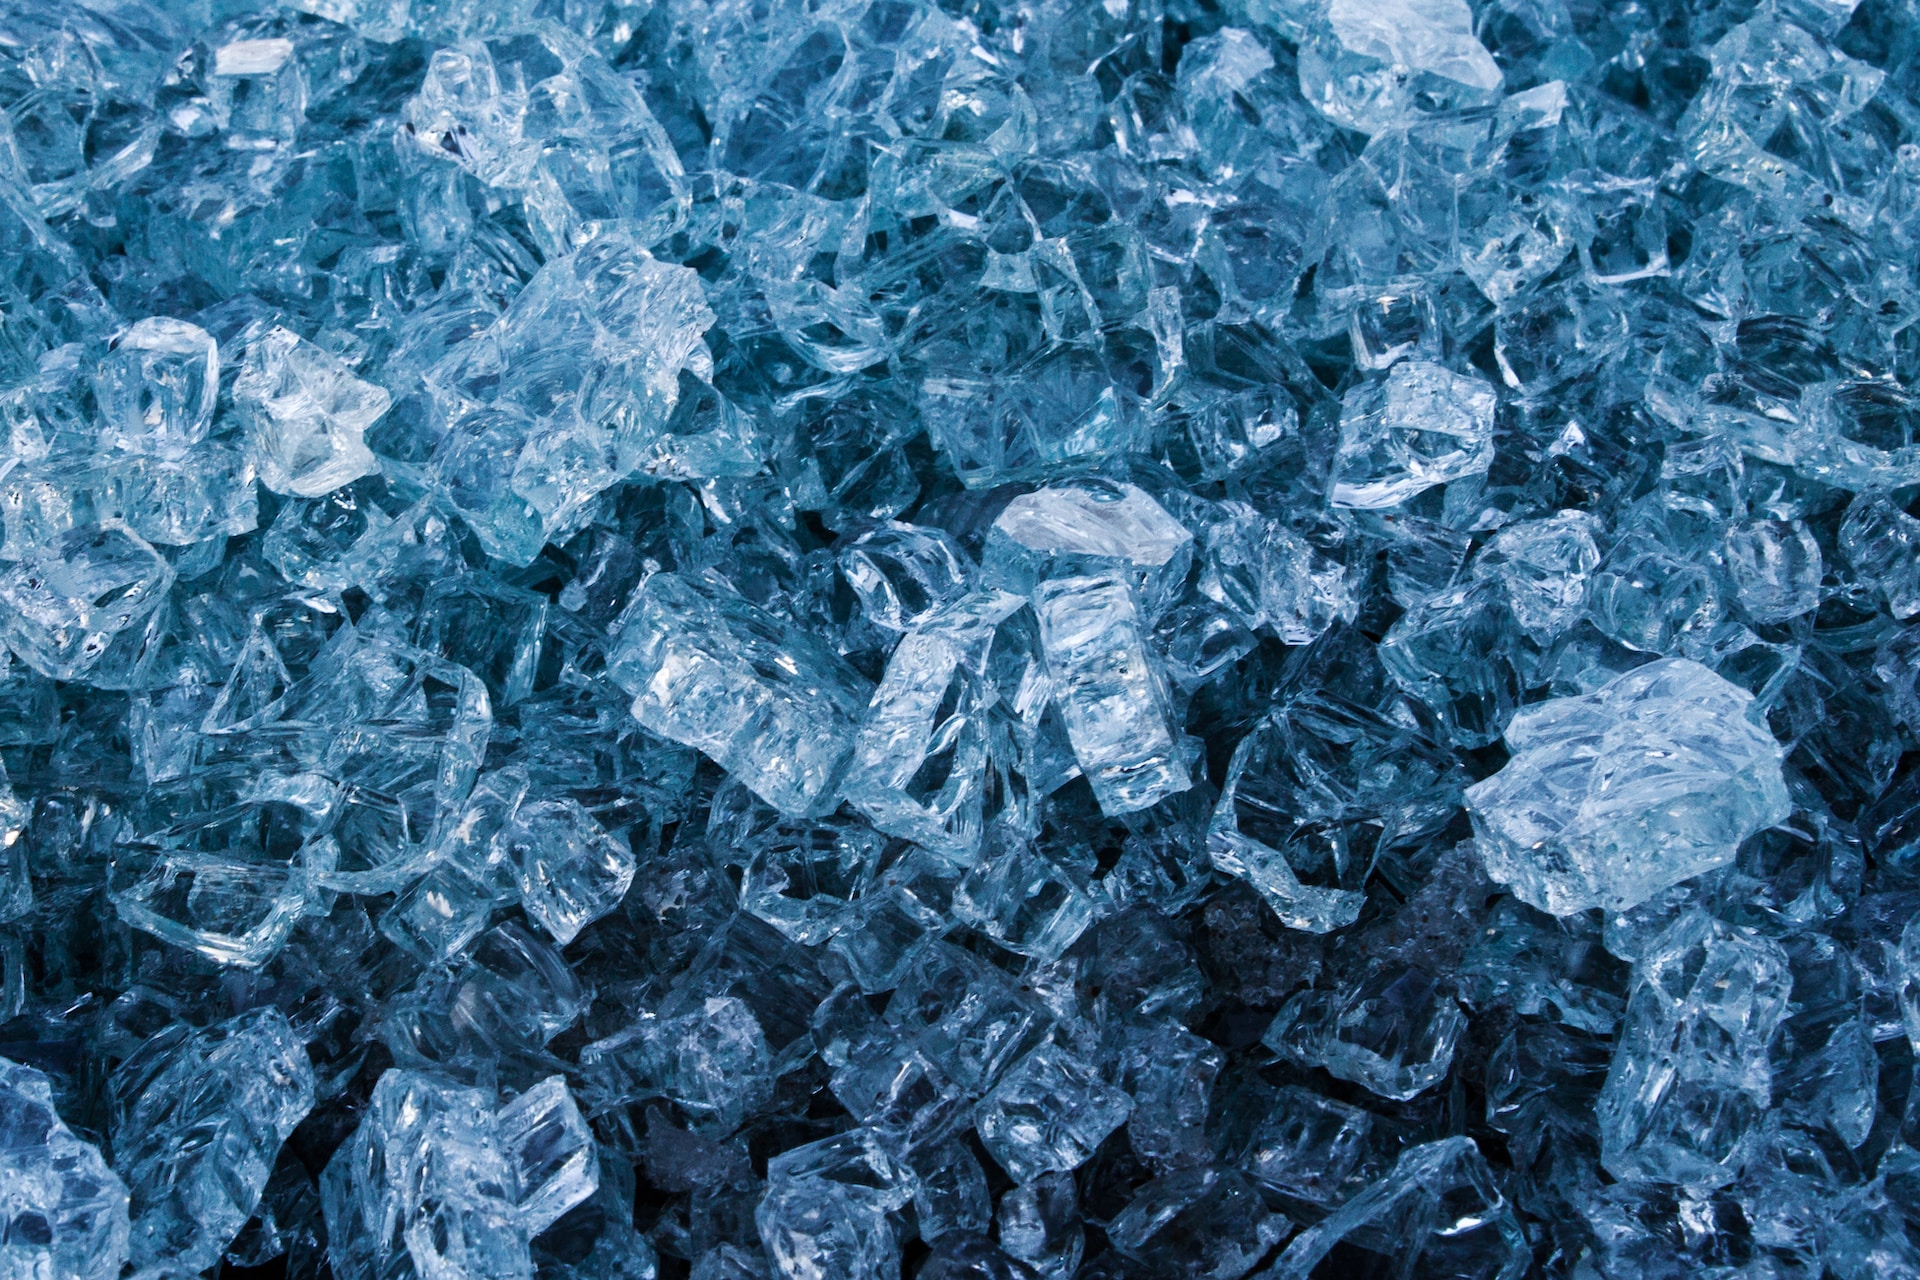
Photo by Scott Rodgerson on Unsplash
Generated Image
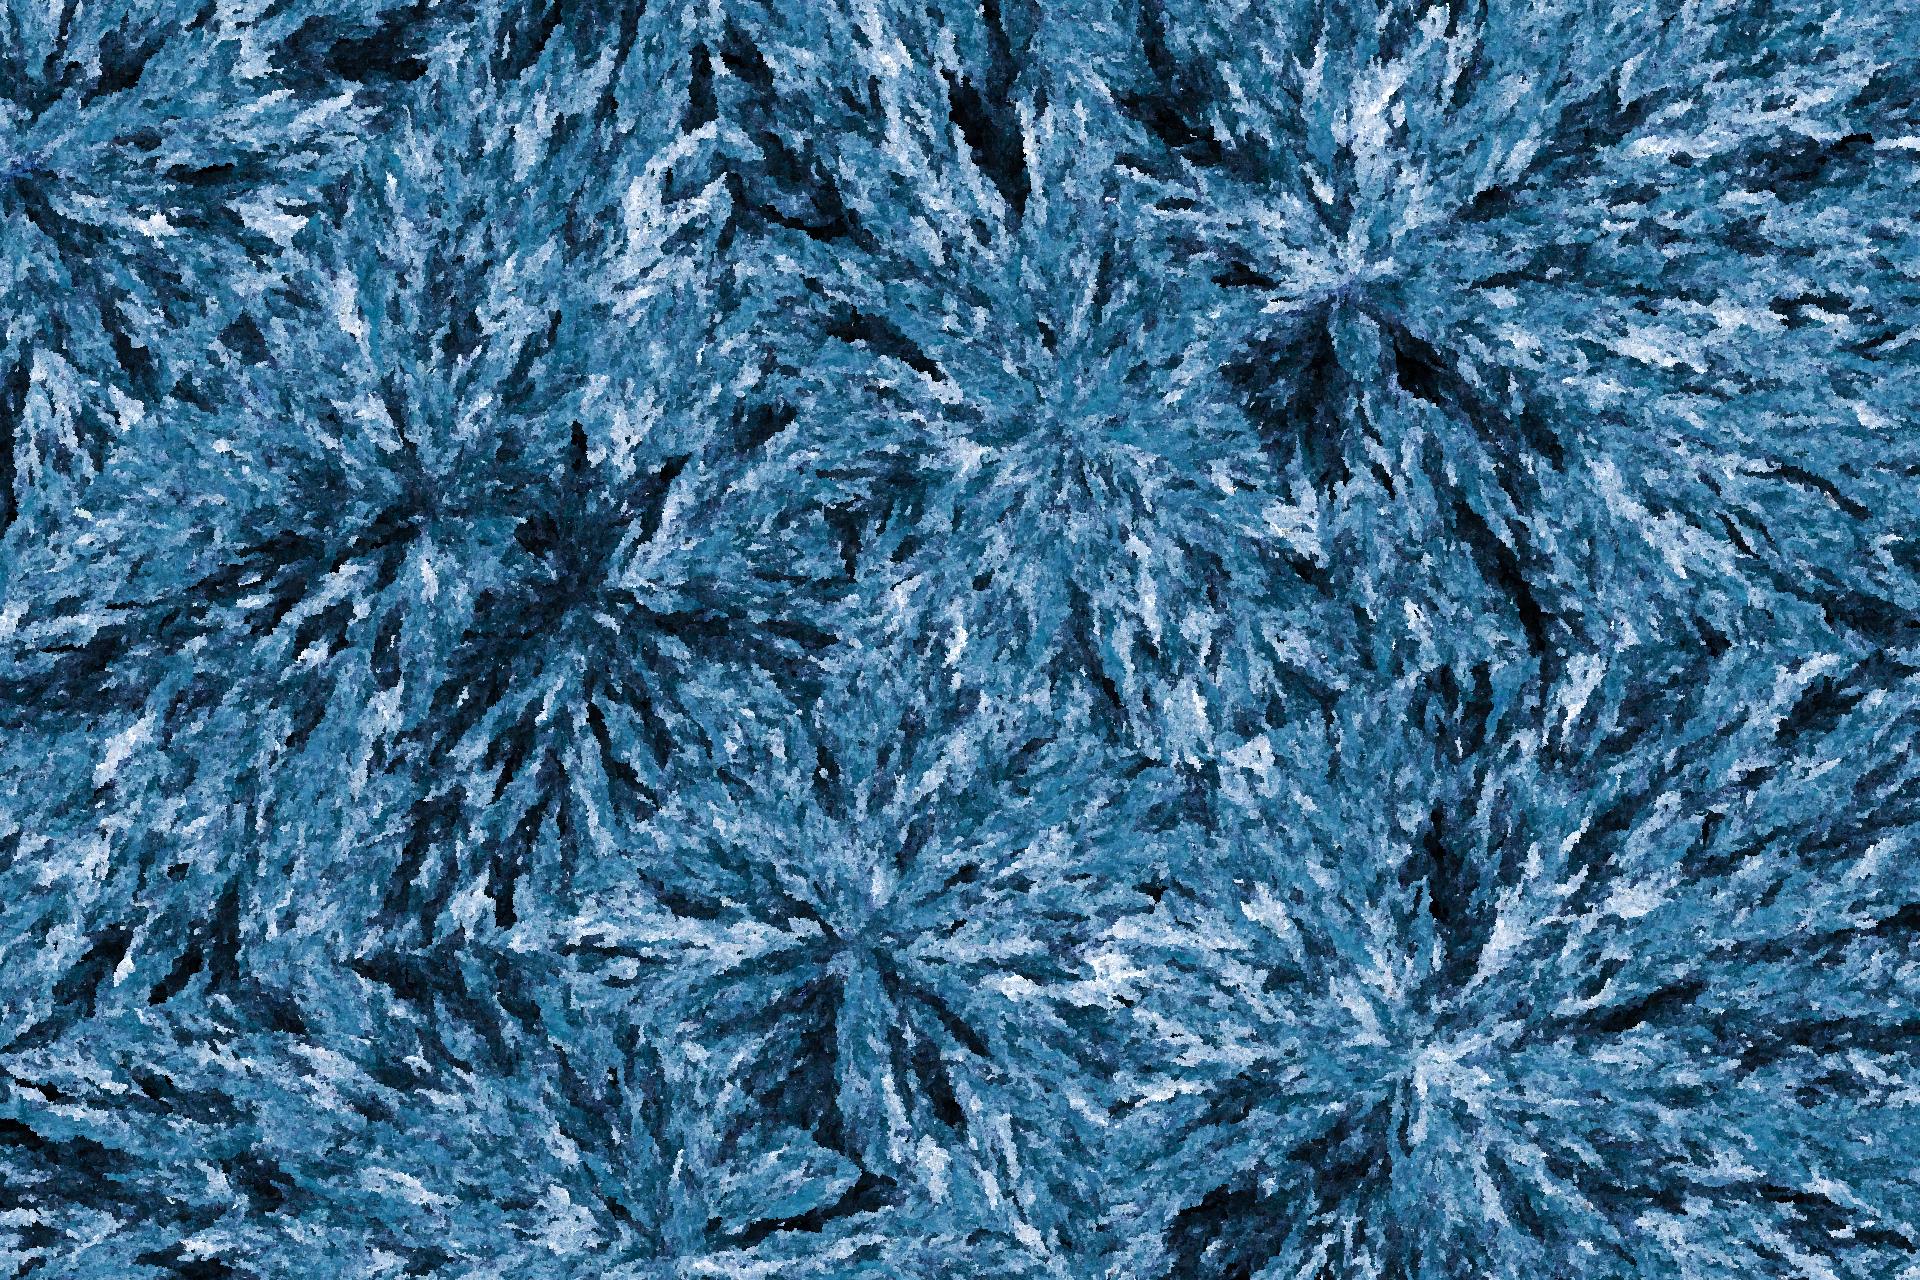
Ice Spikes
Original Photo
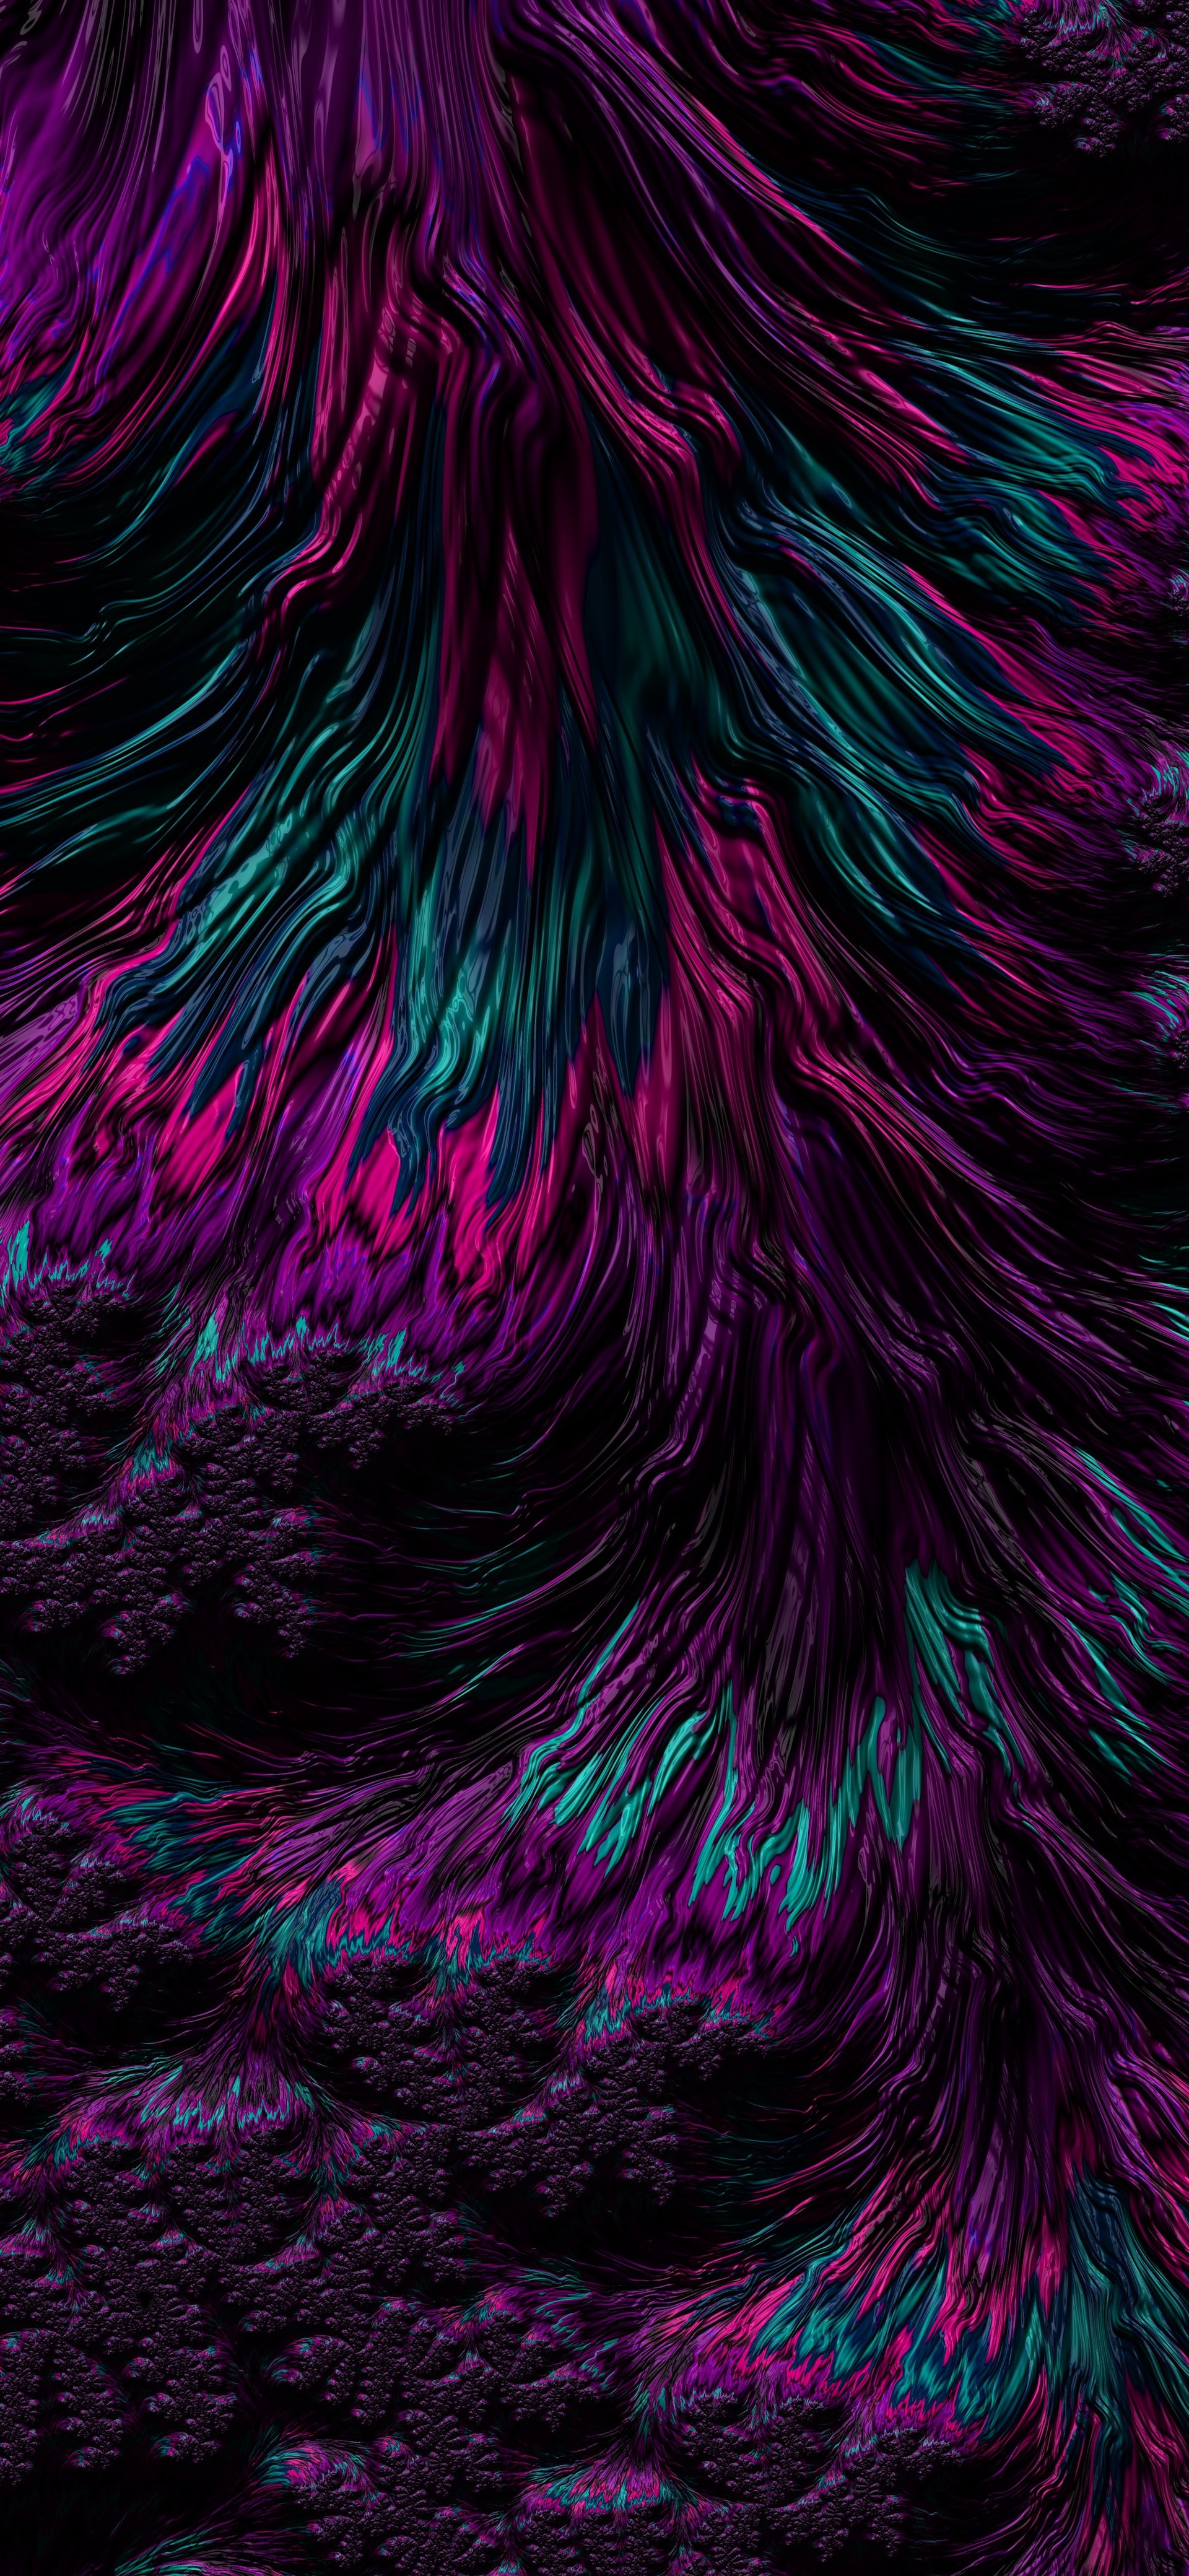
Photo by Alex Perez on Unsplash
Generated Image
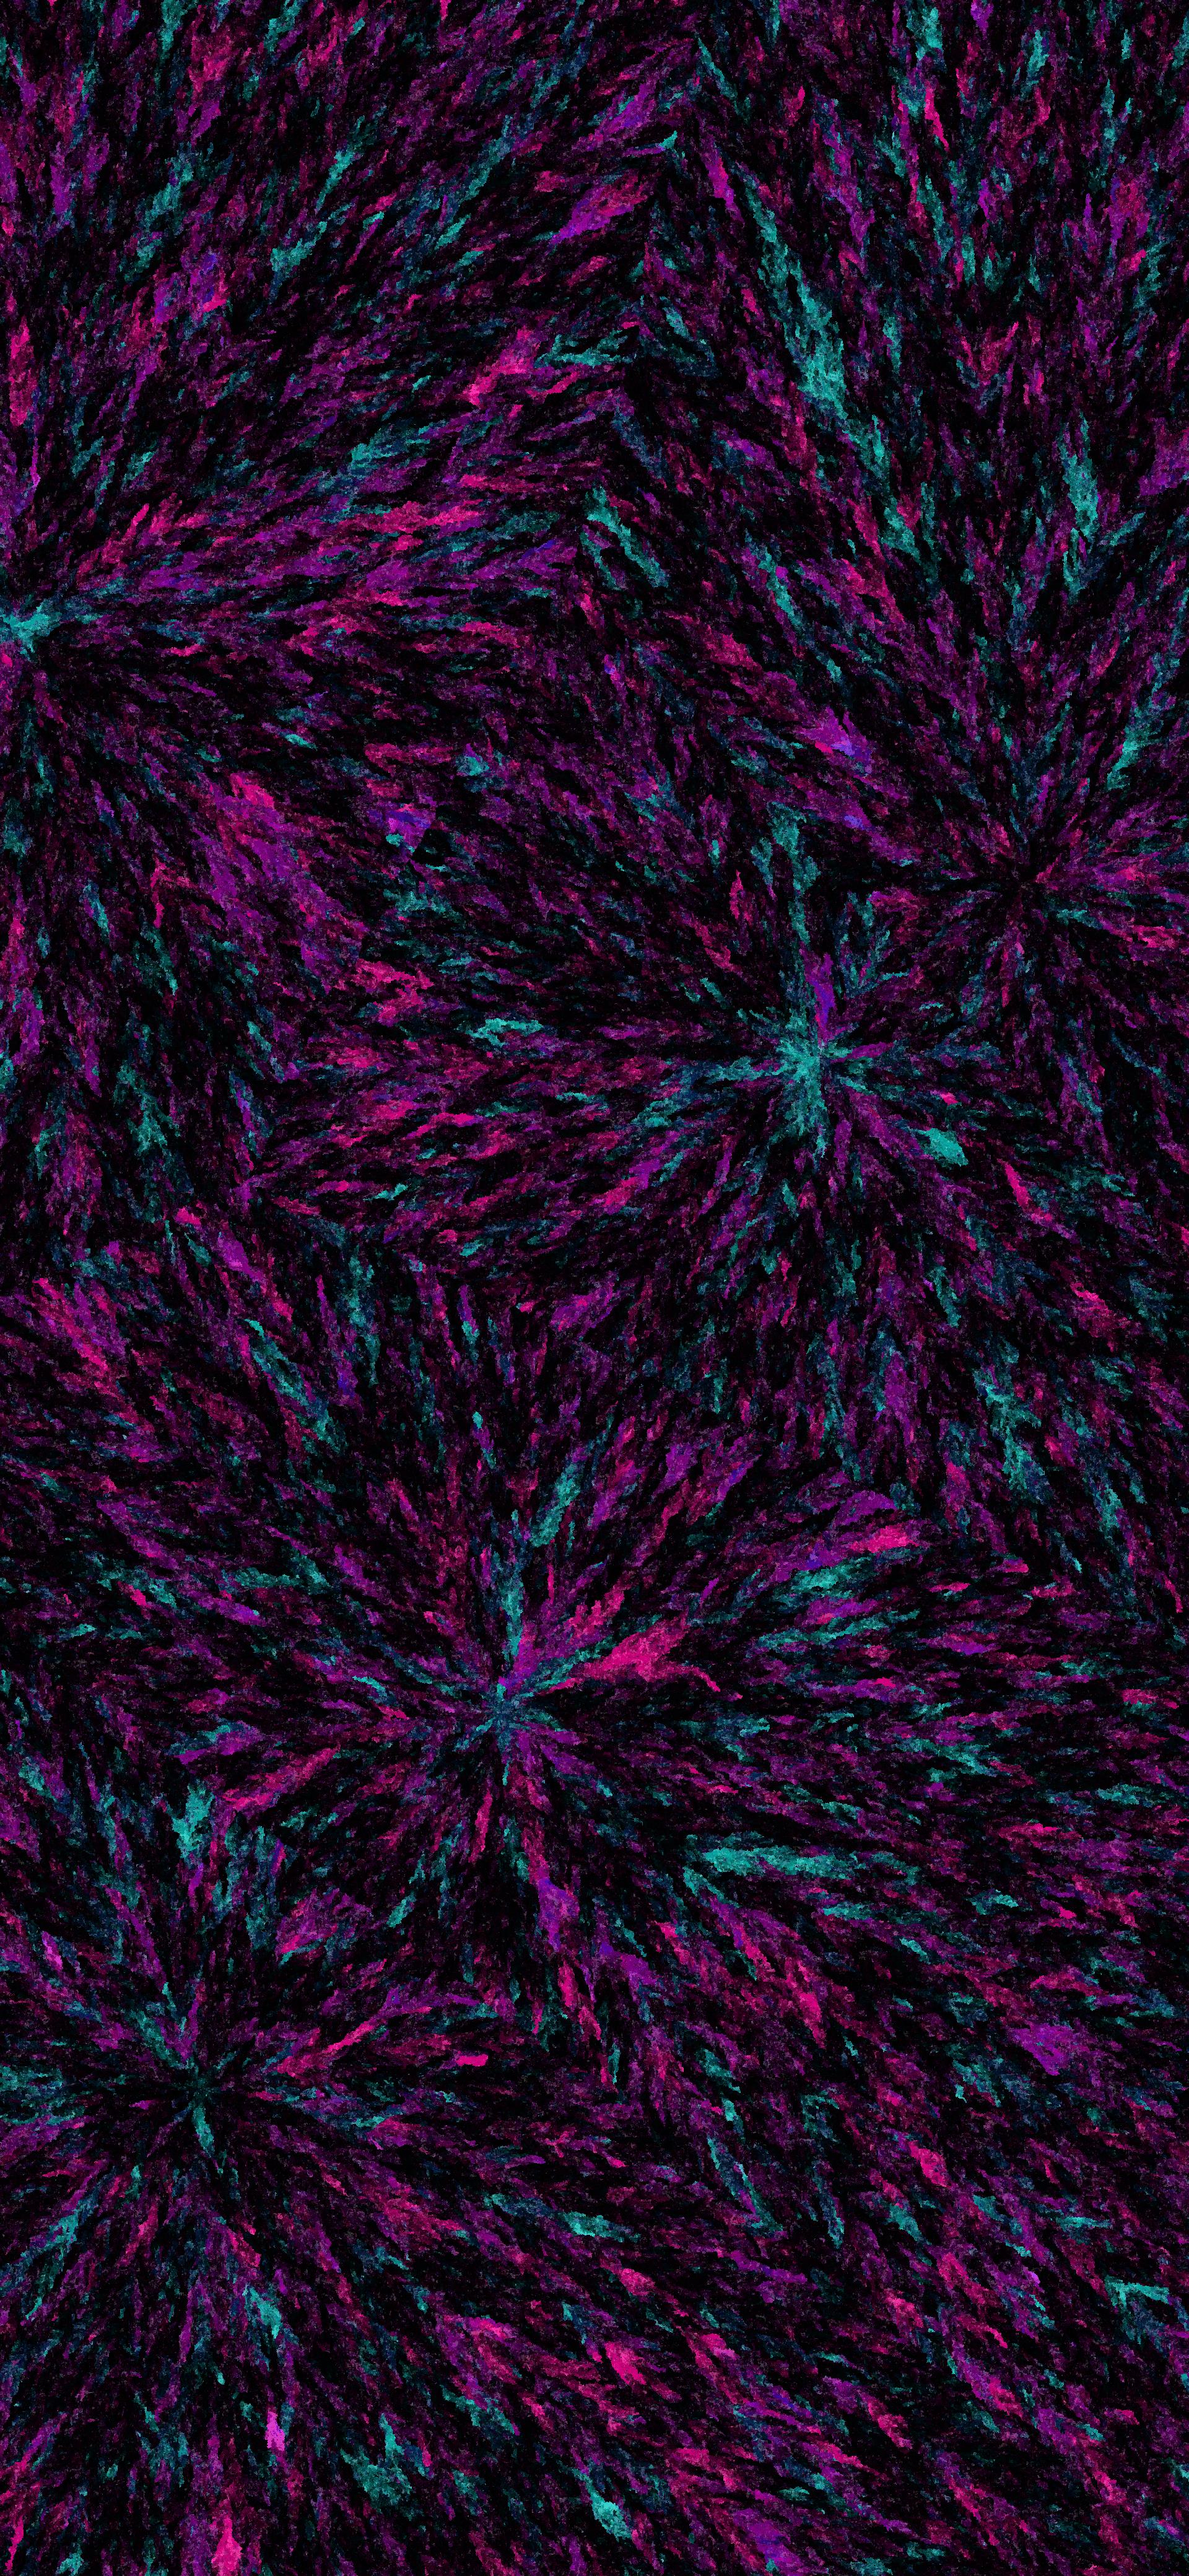
Nebula Crystals
Conclusion
When I started this project, I was hoping that I could solely use Markov chains to create a procedural image. It turns out the method of choosing which pixels to generate has a large influence on how the final image looks. Interestingly, a blog post by Jonathan Mackenzie on generating images using Markov chains came to a similar conclusion.
In the future, I would like to explore some more ways of creating generative art, potentially using the Wavefunction Collapse Algorithm or Perlin noise fields. I hope you enjoyed this blog post - if you would like to see the code used in this article, it can be found over on GitHub!
Additional Notes
After I finished writing this blog post, I looked back at the previous versions of my code and realized what caused the weird "straight line" issue. While the method of generating the pixels still has a large impact on the final image, it turns out I wasn't keeping track of the previous colour property. Below is an image generated with the appropriate changes applied.

The original image - photo by Richard Horvath on Unsplash
Digital stalactites
Last updated: 10/31/2023